
Have you ever stared at a withered basil plant on your windowsill and wished you had a foolproof indoor garden? You are not alone. Thousands of growers face the exact same frustration when transitioning to controlled-environment agriculture. They want fresh greens year-round but get stuck choosing the right path. Here is the deal: picking between a commercial plug-and-play unit and building your own system determines your harvest limits. Today, we engineer the ultimate solution. We will break down the exact math, fluid dynamics, and build steps to answer the big question. When it comes to an aerogarden vs custom hydroponic setup; which one is right for you?
System Architecture and Deep Technical Concepts
Commercial smart gardens rely on proprietary seed pods and built-in LED lighting for small-scale aeroponic or drip delivery. Custom hydroponic setups utilize open-source components like deep water culture reservoirs, standalone water chillers, and external air pumps to manage dissolved oxygen. Both methods aim to optimize the root zone environment without the use of traditional soil.
In my experience, understanding the mechanics behind these two options is the only way to make an informed decision. An AeroGarden is essentially a miniaturized, automated top-drip or aeroponic system. A small submersible pump pushes a pre-mixed nutrient solution up to a grow deck, which then trickles down over peat sponges containing seeds. It is brilliant in its simplicity. You plug it in, add water when the light blinks, and pour in a capful of liquid nutrients every two weeks.
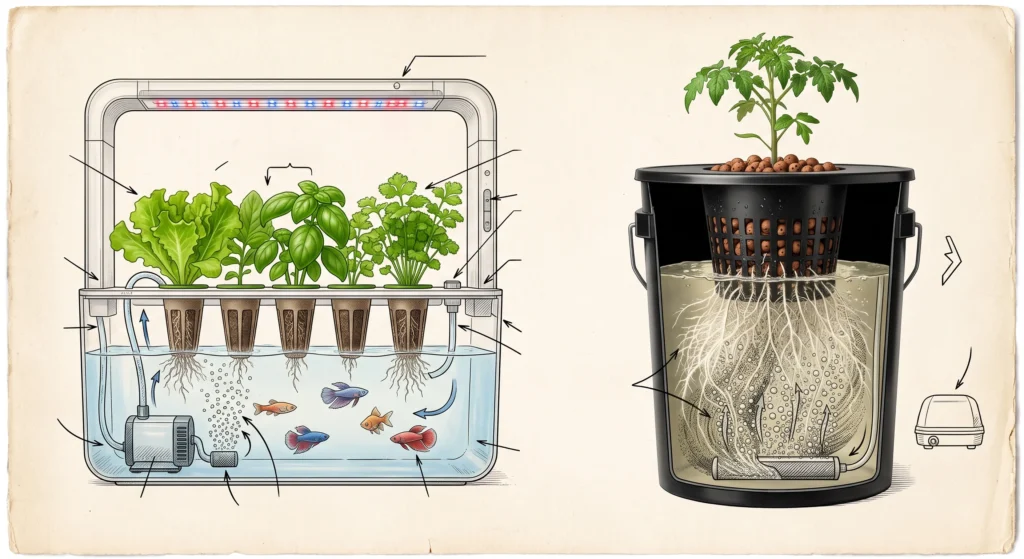
Custom hydroponic systems require you to act as the chief engineer. You are no longer relying on a blinking light to tell you what to do. You are measuring the electrical conductivity (EC) and adjusting the pH. To understand why this matters, we have to look at the fundamental formula of plant life: photosynthesis.
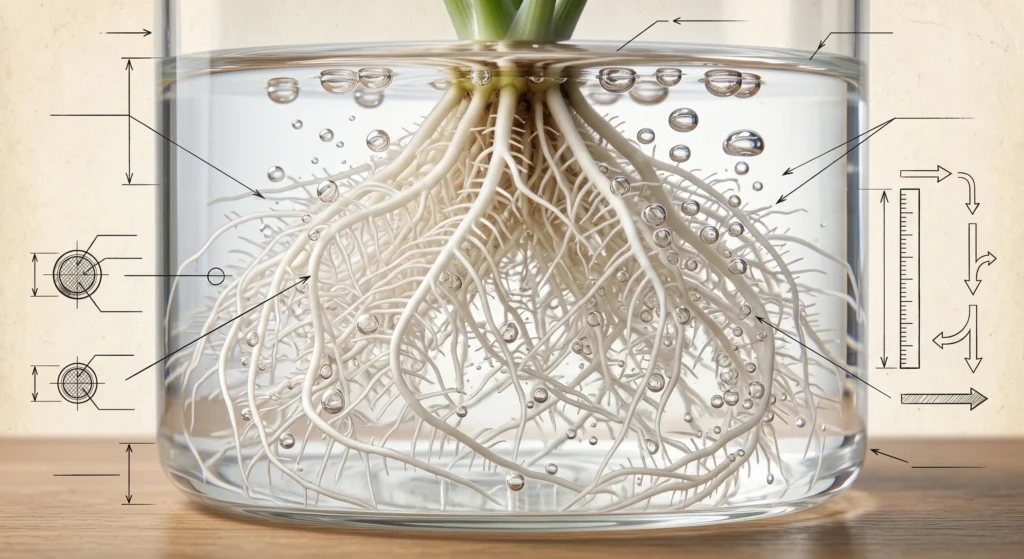
Your plants need water, carbon dioxide, and light to create glucose. In a custom setup, you manipulate the root zone variables to maximize this equation. For example, by utilizing Deep Water Culture (DWC), you suspend the plant roots directly in a highly oxygenated nutrient solution. A dedicated air pump pushes air through an air stone, dissolving oxygen directly into the water. This prevents root rot and supercharges nutrient uptake. While the AeroGarden does this on a micro-scale, a custom build allows you to scale up the reservoir volume. A larger volume of water means greater stability in temperature and pH; two factors that dictate your ultimate yield.
Yields, Scaling, and Plant Nutrition
Plant nutrition in hydroponics is managed by measuring the concentration of dissolved mineral salts in the water. Pre-built countertop systems use generalized nutrient blends designed to keep a wide variety of herbs alive. Custom setups allow growers to tailor specific NPK (Nitrogen, Phosphorus, Potassium) ratios and micronutrients to the exact growth phase of a specific crop.
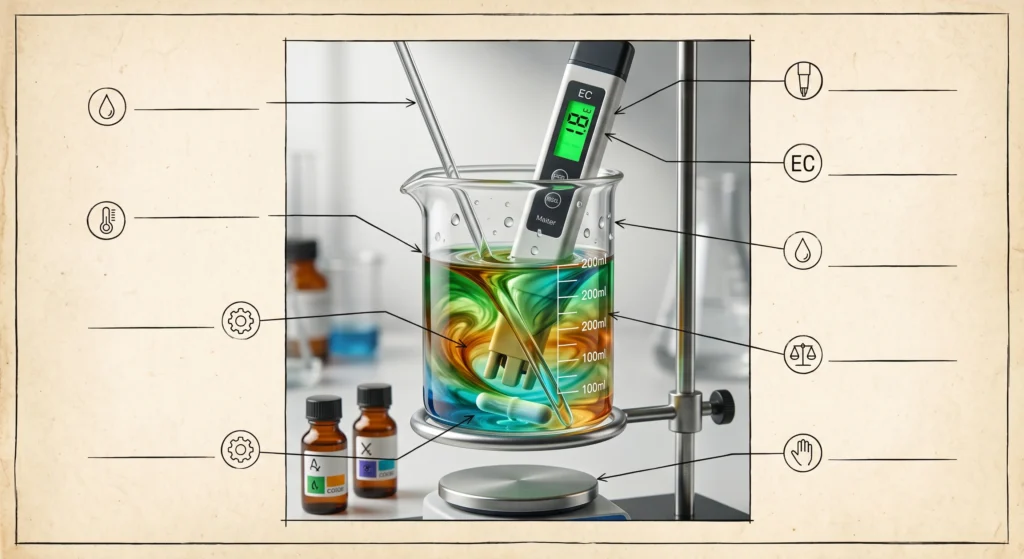
When you buy an AeroGarden, you usually receive a bottle of generalized, one-part liquid nutrient. This works perfectly for basil, lettuce, and dill. But what happens if you want to grow a massive bush of jalapeños or dwarf tomatoes? Fruiting crops have dramatically shifting nutritional needs. During vegetative growth, they crave nitrogen. Once they start flowering, their demand for phosphorus and potassium skyrockets.
In a custom setup, you have the power to mix multi-part dry or liquid fertilizers. You control the exact Parts Per Million (PPM) of the solution. Pro tip: Always measure your baseline water before adding nutrients. If your tap water has an EC of 0.5 mS/cm, you must factor that into your final calculation.
| Metric | Target Range (Leafy Greens) | Target Range (Fruiting Crops) |
| pH Level | 5.5 to 6.0 | 5.8 to 6.3 |
| Electrical Conductivity (EC) | 1.2 to 1.8 mS/cm | 2.0 to 3.5 mS/cm |
| Dissolved Oxygen (DO) | 5 to 8 mg/L | 6 to 9 mg/L |
| Water Temperature | 65°F to 70°F | 68°F to 72°F |
Lighting Metrics: Lux, PAR, and Daily Light Integral
Light intensity dictates the photosynthetic rate and overall yield of any hydroponic crop. Commercial countertop gardens feature integrated LED panels calibrated for basic leafy greens. Custom setups require standalone lighting calculated by Photosynthetic Photon Flux Density (PPFD) and Daily Light Integral (DLI) to support demanding crops.
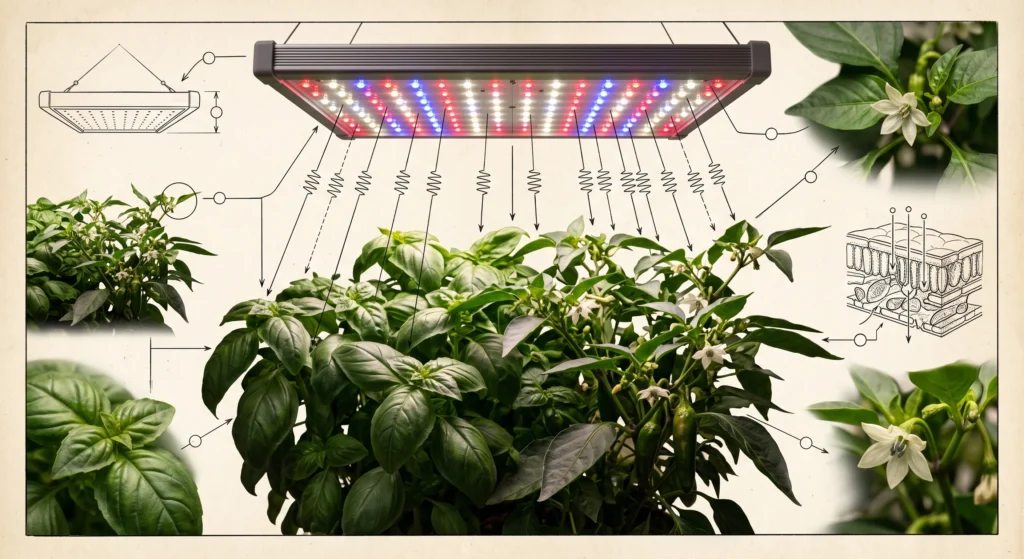
An AeroGarden comes with a fixed LED hood. You can raise and lower it, but you cannot change the output. This is perfectly fine for low-light crops. However, if you want to push boundaries, you need to understand DLI. DLI measures the total amount of photosynthetically active photons that land on a square meter over a 24-hour period. We calculate DLI using this specific math:
Custom builds allow you to hang powerful, full-spectrum LED boards that can push 800+ PPFD to your canopy, ensuring your tomatoes actually fruit rather than stretching into weak, leggy vines.
| Crop Type | Target DLI Range | Recommended PPFD |
| Microgreens | 6 to 12 mol/m²/day | 100 to 200 µmol/m²/s |
| Leafy Greens & Herbs | 12 to 17 mol/m²/day | 200 to 300 µmol/m²/s |
| Fruiting Crops (Peppers) | 20 to 30 mol/m²/day | 400+ µmol/m²/s |
Step-by-Step Blueprint: Building Your Custom DWC Setup
Deep Water Culture provides the most stable root environment for a custom hydroponic setup. Construction involves a light-proof reservoir, a dedicated air pump with air stones, and net pots suspended in the lid. This blueprint scales easily from single-bucket systems to large multi-tote configurations.
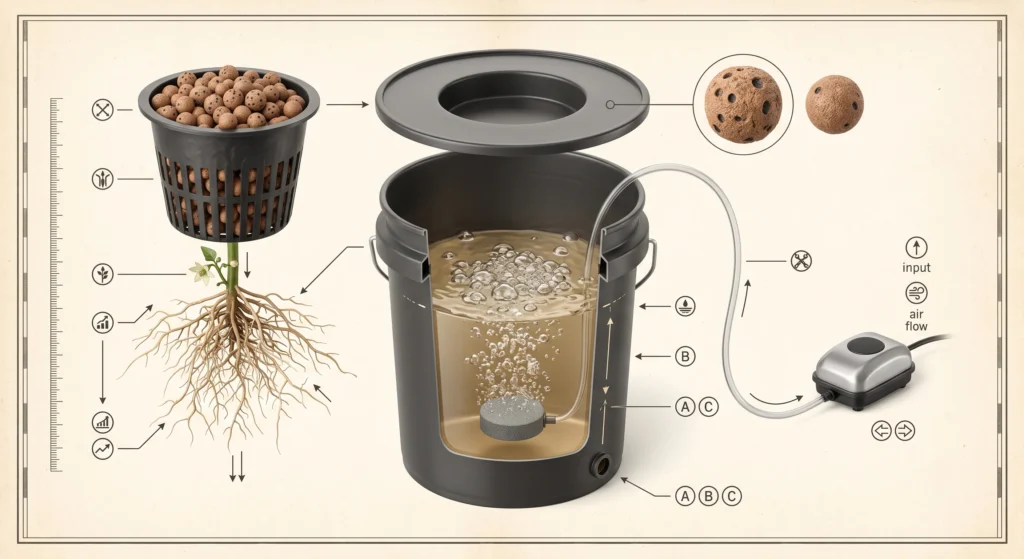
If you are ready to graduate from commercial pods, building your own DWC system is the logical next step. It is highly effective and relatively cheap. Here is exactly how to do it.
- Select the Reservoir: Obtain a heavy-duty, opaque 5-gallon bucket or a large 20-gallon storage tote. It must block 100% of light to prevent algae growth.
- Drill the Grow Sites: Use a 2-inch or 3-inch hole saw to drill holes into the lid. Space the holes according to the mature canopy size of your crop.
- Install Aeration: Drill a small 1/4-inch hole near the top rim of the reservoir. Feed your black vinyl airline tubing through this hole. Attach a heavy air stone to the end inside the reservoir, and attach the other end to your external air pump.
- Prepare the Net Pots: Fill your net pots with rinsed expanded clay pellets (LECA). This inert substrate supports the plant stem while allowing roots to grow down into the water.
- Mix the Nutrient Solution: Fill the reservoir with water until it reaches the very bottom of your net pots. Add your hydroponic nutrients, checking the EC with a truncheon meter. Finally, adjust the pH to 5.8 using a few drops of pH Down.
- Transplant: Carefully place your seedlings (started in rockwool or coco plugs) into the center of the clay pellets. Turn on the air pump.
Comparison Metrics: AeroGarden vs. Custom Hydroponic Setup
Analyzing the differences between these two approaches requires a direct look at operating costs, yield potential, and maintenance demands. Countertop systems excel in aesthetic integration and simplicity. Custom builds dominate in nutrient scalability, plant variety, and overall return on investment.
When deciding between an aerogarden vs custom hydroponic setup, you must weigh your technical comfort level against your desired harvest size.
| Feature | AeroGarden (Pre-built) | Custom DWC / NFT Build |
| Initial Cost | High (for the volume) | Low to Medium |
| Ease of Use | Plug-and-play | Requires basic engineering skills |
| Crop Limitations | Herbs and small dwarf varieties | Limitless; can grow massive fruiting plants |
| Nutrient Control | Automated alerts, basic 1-part feed | Full chemical control over EC and pH |
| Maintenance | Minimal; clean every few months | Weekly reservoir checks; regular calibration |
Essential Gear for Your Custom Setup
Sourcing reliable equipment is the first step toward a successful custom hydroponic setup. High-quality pH meters, durable air pumps, and full-spectrum LED panels are mandatory for replicating commercial yields. Investing in proven hardware prevents system failure and root rot.
If you choose the custom route, do not skimp on your core hardware. Here are the tools I use to keep my grow tents running flawlessly.
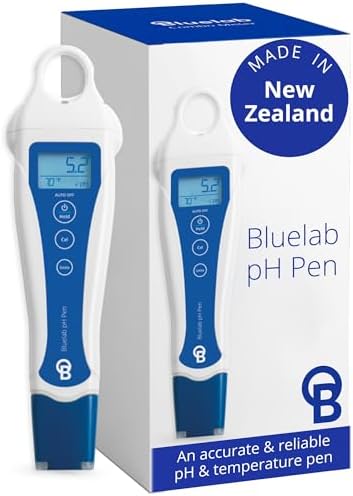
Why I use it: Cheap pH pens lose calibration constantly, leading to nutrient lockout and dead plants. The Bluelab pen is waterproof, rugged, and highly accurate. You need this to keep your water precisely at 5.8.

Why I use it: Plant roots need aggressive aeration. Standard aquarium pumps are too weak for large reservoirs. This pump delivers serious dissolved oxygen to the root zone, preventing Pythium (root rot).

Why I use it: You need real PPFD to grow tomatoes and peppers indoors. This board utilizes efficient diodes that produce almost no heat while bathing the canopy in full-spectrum light.
Troubleshooting & FAQ: Mastering Indoor Growing
Even the most well-engineered hydroponic systems encounter issues with root health, pH drift, and lighting stress. Monitoring dissolved oxygen and nutrient concentrations prevents most common crop failures. Quick intervention is required to maintain a balanced aquatic environment.
Which is better for a beginner?
If you have zero gardening experience and want fresh basil in your kitchen by next week, the AeroGarden is the clear winner. It removes the entire learning curve.
How much does a custom hydroponic setup cost?
You can build a single-bucket DWC system for under $50. However, once you factor in a quality LED grow light, an EC meter, and a pH pen, expect a starting budget closer to $150 to $200.
Can I grow tomatoes in an AeroGarden?
Yes, but you are strictly limited to specific micro-dwarf varieties like the “Orange Hat” or “Micro Tom.” A custom setup allows you to grow massive indeterminate heirloom tomatoes if you have the vertical space and a heavy-duty trellis.
Why are my plant roots turning brown and slimy?
Brown, mushy roots indicate Pythium, commonly known as root rot. This happens when water temperatures exceed 75°F or when dissolved oxygen levels are too low. Clean the reservoir, add a larger air stone, and consider a beneficial microbe inoculant.
What is the ideal pH for hydroponic vegetables?
For the vast majority of hydroponic crops, maintaining a pH between 5.5 and 6.0 is optimal. This specific range ensures that all macronutrients and micronutrients remain soluble and bioavailable to the plant roots.
Summary and Final Takeaways
The choice between an AeroGarden and a custom hydroponic setup depends entirely on the grower’s goals, available space, and budget. Pre-built systems offer unparalleled convenience for small kitchen spaces. Custom engineered systems provide maximum yield, crop flexibility, and deep control over plant nutrition.
You now have the engineering blueprints to make your choice. The commercial units offer brilliant, mess-free aesthetics for the casual chef. But if you want to truly master the science of hydroponics, wire your own lighting, and harvest pounds of produce from a spare closet, building your own system is the only way to grow. Get your hands wet, mix some nutrients, and start building your indoor oasis today.