DIY Quiet DWC Hydroponics: Silence Air Pumps & Bucket Noise

Table of Contents
- The Physics of DWC Noise: Why Air Pumps Hum
- Decibel Deathmatch: Selecting an Ultra-Quiet Air Pump
- How to Soundproof Your Air Pump Step-by-Step
- Silent Temperature Control: Preventing Root Rot Without Loud Water Chillers
- Oxygen Math: Calculating the Perfect Air Pump & Stone to Prevent Root Rot
- How to Silence Your DWC Grow: A Decibel Deathmatch of Air Pumps
- Winning the War on Root Rot: Reservoir Temperature Control Hacks
- Reservoir Sterilization 101: Bleach vs. H2O2 vs. Star San
- DIY DWC Frequently Asked Questions (FAQ)
- The Final Word: Build it Right, Build it Once
Building from scratch? Before soundproofing your grow area, make sure your reservoir, net pots, and plumbing specs are dialed in with our step-by-step DIY Hydroponic DWC Kit Guide.
If you are running an indoor garden in an apartment, closet, or bedroom, building a DIY DWC hydroponics quiet setup is the difference between peaceful sleep and a constant, sanity-draining motor hum.
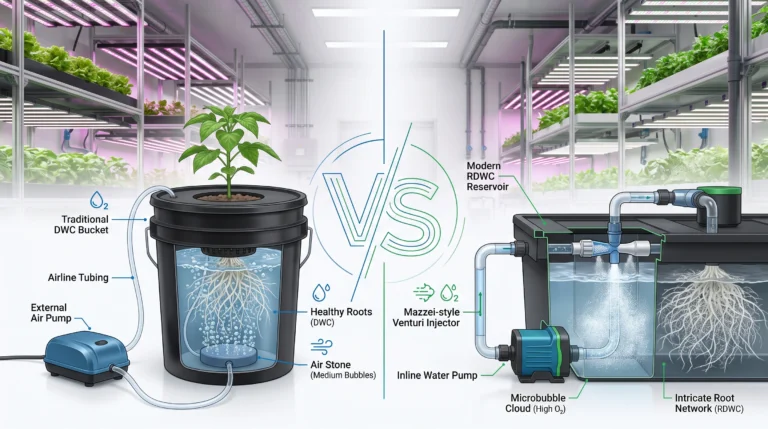
Deep Water Culture (DWC) is one of the most productive hydroponic methods available, but standard off-the-shelf air pumps vibrate against hardwood floors and create high-frequency cabinet hum. This guide provides an actionable engineering blueprint to silence your system, damp vibrations, and maintain elite oxygenation without noisy equipment.
The 4-Step Stealth DWC Soundproofing Protocol:
- Acoustic Decoupling: Never place air pumps directly on wood or tent frames. Suspend them with bungee cords or rest them on 2-inch high-density EVA foam to eliminate 90% of low-frequency floor vibration.
- Minimize Backpressure: Swap dense cylinder air stones for wide disc diffusers or flexible micro-pore tubing to reduce diaphragm strain and motor hum.
- Water Surface Air Gap: Maintain a strict 1.5-inch air gap beneath net cups. This balances splashing oxygenation without creating loud water gurgling.
- Intake Baffling: Wrap a loose layer of acoustic cotton or polyfill around the air pump intake port to suppress high-frequency suction noise.
WARNING: Product links are for research purposes. Commissions earned support our lab. DIY hydroponics carries flooding/electrical risks – proceed at your own peril.
The Physics of DWC Noise: Why Air Pumps Hum
Before applying soundproofing hacks, it helps to understand where the noise comes from. DWC bucket noise originates from three distinct sources:
- Diaphragm Motor Resonance: Mechanical movement inside the air pump creates a continuous low-frequency hum (30-60 Hz).
- Contact Vibration: Physical contact between the pump housing and hard surfaces (floors, tent poles, or wooden walls) turns those surfaces into giant acoustic amplifiers.
- Hydrostatic Backpressure: Forcing air deep underwater pushes back against the pump diaphragm. The harder the pump works, the louder it hums.
Decibel Deathmatch: Selecting an Ultra-Quiet Air Pump
Not all air pumps are created equal. A cheap 5-watt aquarium pump can hit 50 dBA—equivalent to a loud home refrigerator running continuously. High-grade dual-diaphragm or piezoelectric pumps operate near 30 dBA, which mimics a soft library whisper.
| Pump Model | Noise Level (dBA) | Air Output (LPM) | Stealth Rating |
|---|---|---|---|
| Active Aqua 2-Outlet (6W) | 32 dBA | 7.8 LPM | 🟢 Excellent (Bedroom Safe) |
| Tetra Whisper 40 | 36 dBA | 4.0 LPM | 🟡 Moderate (Living Room) |
| Standard Commercial Electromagnetic | 52+ dBA | 20+ LPM | 🔴 Loud (Basement/Garage Only) |
Sizing Air Flow vs. Noise Level
To calculate the minimum air output needed for healthy roots without overworking your pump:
$$\text{Required Air Flow (LPM)} = \text{Nutrient Volume (Gallons)} \times 1.0$$
For a 5-gallon bucket filled with 4 gallons of solution, target an air pump rated for 4 to 6 LPM.
How to Soundproof Your Air Pump Step-by-Step
1. Mid-Air Bungee Suspension
The most effective way to eliminate vibration is to hang the air pump so it never touches a solid surface. Loop two soft bungee cords or adjustable ratchet hangers around the pump and suspend it inside your grow tent frame.
2. The EVA Foam & Heavy Tile Sandwich
If hanging isn’t an option, build an acoustic isolation pad:
- Bottom Layer: 2 inches of high-density EVA foam pad.
- Middle Layer: A heavy concrete paver or ceramic tile (adds mass to absorb vibration).
- Top Layer: A soft silicone mat beneath the pump feet.
3. Upgrade to Wide Disc Air Diffusers
Small cylinder air stones force air through a restricted pore area, creating high backpressure. Swapping to a 4-inch or 6-inch air disc diffuser spreads the air across a wider surface area, reducing motor strain and smoothing out violent water bubbling.
Silent Temperature Control: Preventing Root Rot Without Loud Water Chillers
High reservoir temperatures above 70°F (21°C) deplete Dissolved Oxygen (DO) and trigger root rot (Pythium). However, active water chillers use loud internal compressors. Here are two silent ways to control temperatures:
- Reflective Bucket Insulation: Wrap your dark DWC buckets in reflective bubble wrap (Reflectix) or pool noodle foam. This reflects ambient heat from grow lights away from the water.
- Biological Pathogen Protection: Add a beneficial bacterial inoculant like Bacillus amyloliquefaciens (e.g., Hydroguard) directly to your reservoir. Beneficial bacteria protect root zones against rot pathogens even if temperatures spike slightly.
Oxygen Math: Calculating the Perfect Air Pump & Stone to Prevent Root Rot
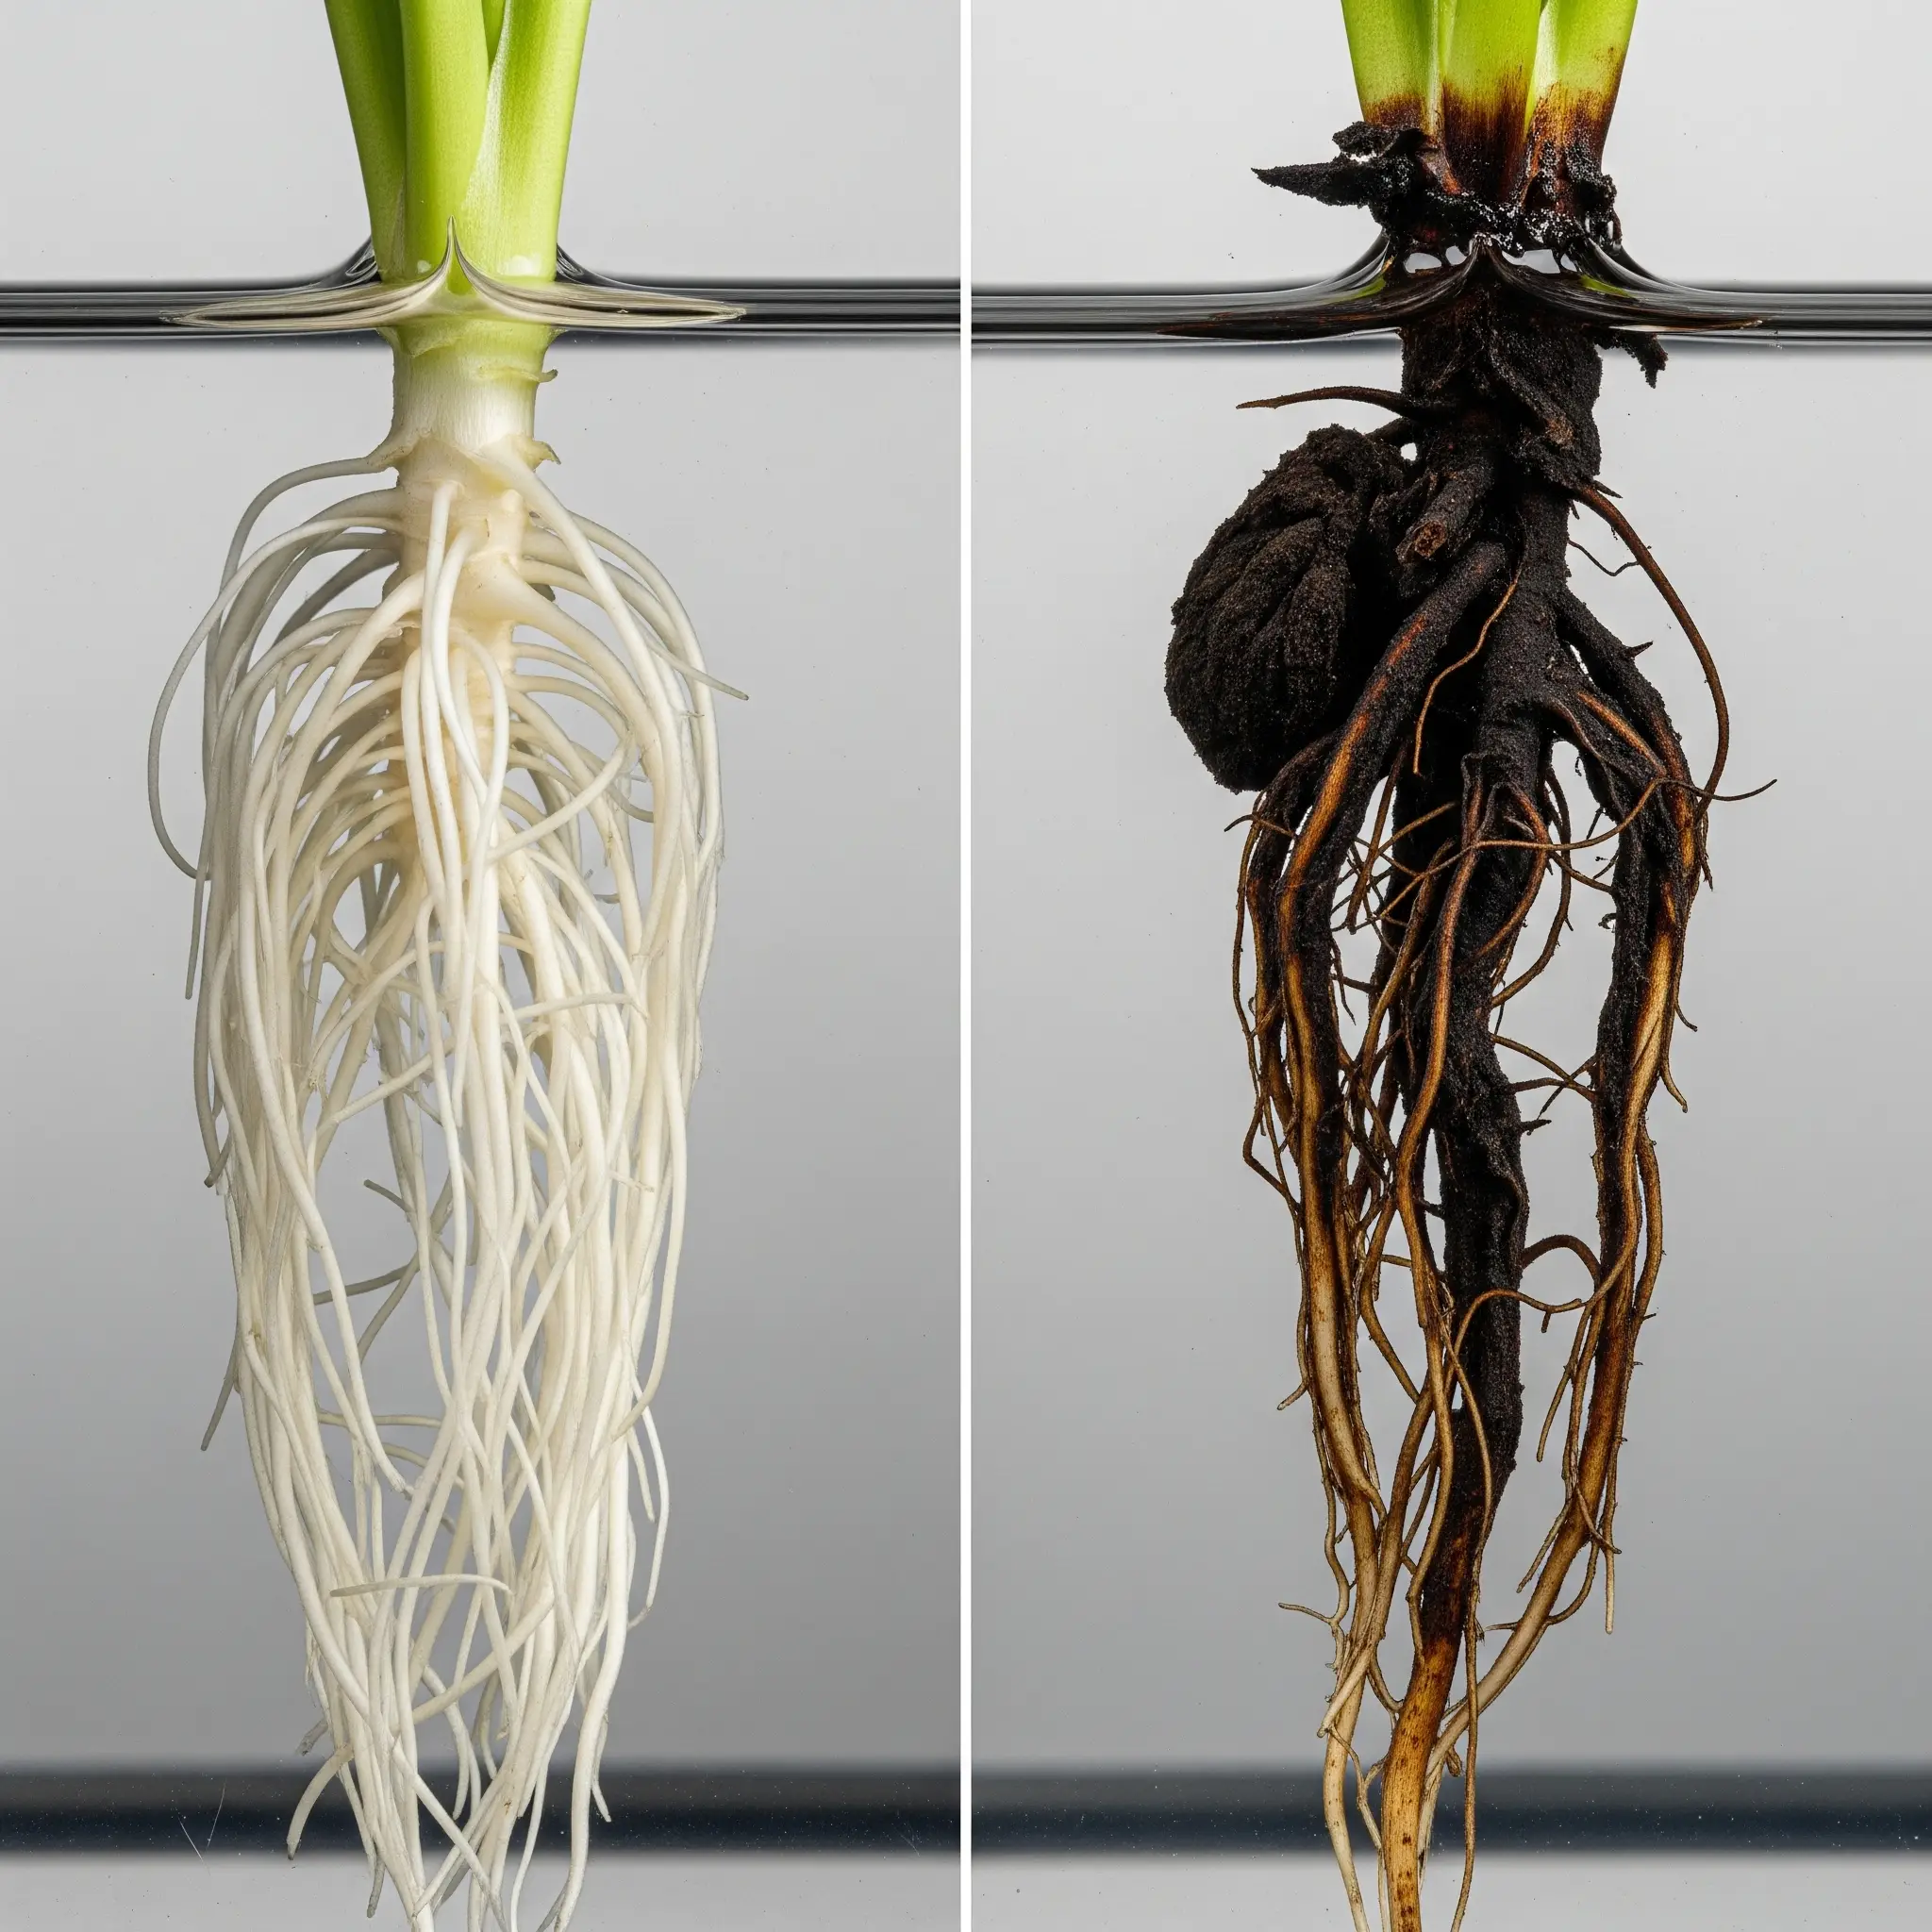
Your roots are living things. They need to breathe. In DWC, their only source of oxygen is what you pump into the water. An undersized air stone is like trying to feed a grown man through a coffee stirrer—it’s a slow, painful death for your roots. They’ll sit there, roots gasping for O2 like a drowning accordion, before finally succumbing to root rot.
So, how much oxygen do they need? The goal is to maintain a dissolved oxygen (DO) level of at least 6 ppm (parts per million). The best way to achieve this is with a properly sized air pump and air stone. We can’t just guess. We use a formula:
CFM = (Gallons × 0.05) + 20% buffer
CFM stands for Cubic Feet per Minute, a measurement of air pump output. For a standard 5-gallon DWC bucket, the math looks like this: (5 gallons × 0.05) + 20% = 0.25 + 0.05 = 0.3 CFM. You want a pump that can put out at least this much air, but a little more is always better.
Next up, the air stone. The key here is surface area. A bigger stone produces finer bubbles and more surface area for oxygen transfer. Don’t cheap out here. For a 5-gallon bucket, a 4″ air stone is a non-negotiable minimum, especially for dense, thirsty plants like tomatoes or peppers. For less dense plants like lettuce, a 2″ or 3″ stone will work, but I always recommend erring on the side of too much oxygen.
Air Stone Size Guide for Different Plants and Tank Sizes
| Air Stone Size | Tank Size (Gallons) | Ideal For |
| 2″ Disc | 1-3 | Small plants, herbs |
| 4″ Disc | 4-8 | Medium plants, leafy greens |
| 6″ Disc | 8-15 | Large plants, fruiting crops |
| 12″ Flexible Wand | 15+ | Commercial grows, multi-plant systems |

Solves: Root suffocation from inadequate oxygenation.
Verdict: The workhorse of the industry. Produces a fine, consistent bubble stream, but the plastic housing can be brittle if you drop it.
How to Silence Your DWC Grow: A Decibel Deathmatch of Air Pumps
Nothing is worse than a grow that keeps you awake at night. A cheap air pump sounds like a dentist’s drill, and a noisy pump means you’ll either move your grow somewhere inconvenient or go insane. I’ve heard pumps that sound like a tiny jackhammer, and I’ve paid for it with my sleep. So let’s talk about the decibels, and what each one actually sounds like.
I’ve tested dozens of pumps, and the difference is staggering. A cheap 5-watt pump can hit 50 dB—that’s the sound of a refrigerator humming constantly. A good pump, on the other hand, can be as low as 32 dB, which is like a library whisper. The difference is the quality of the motor and housing.
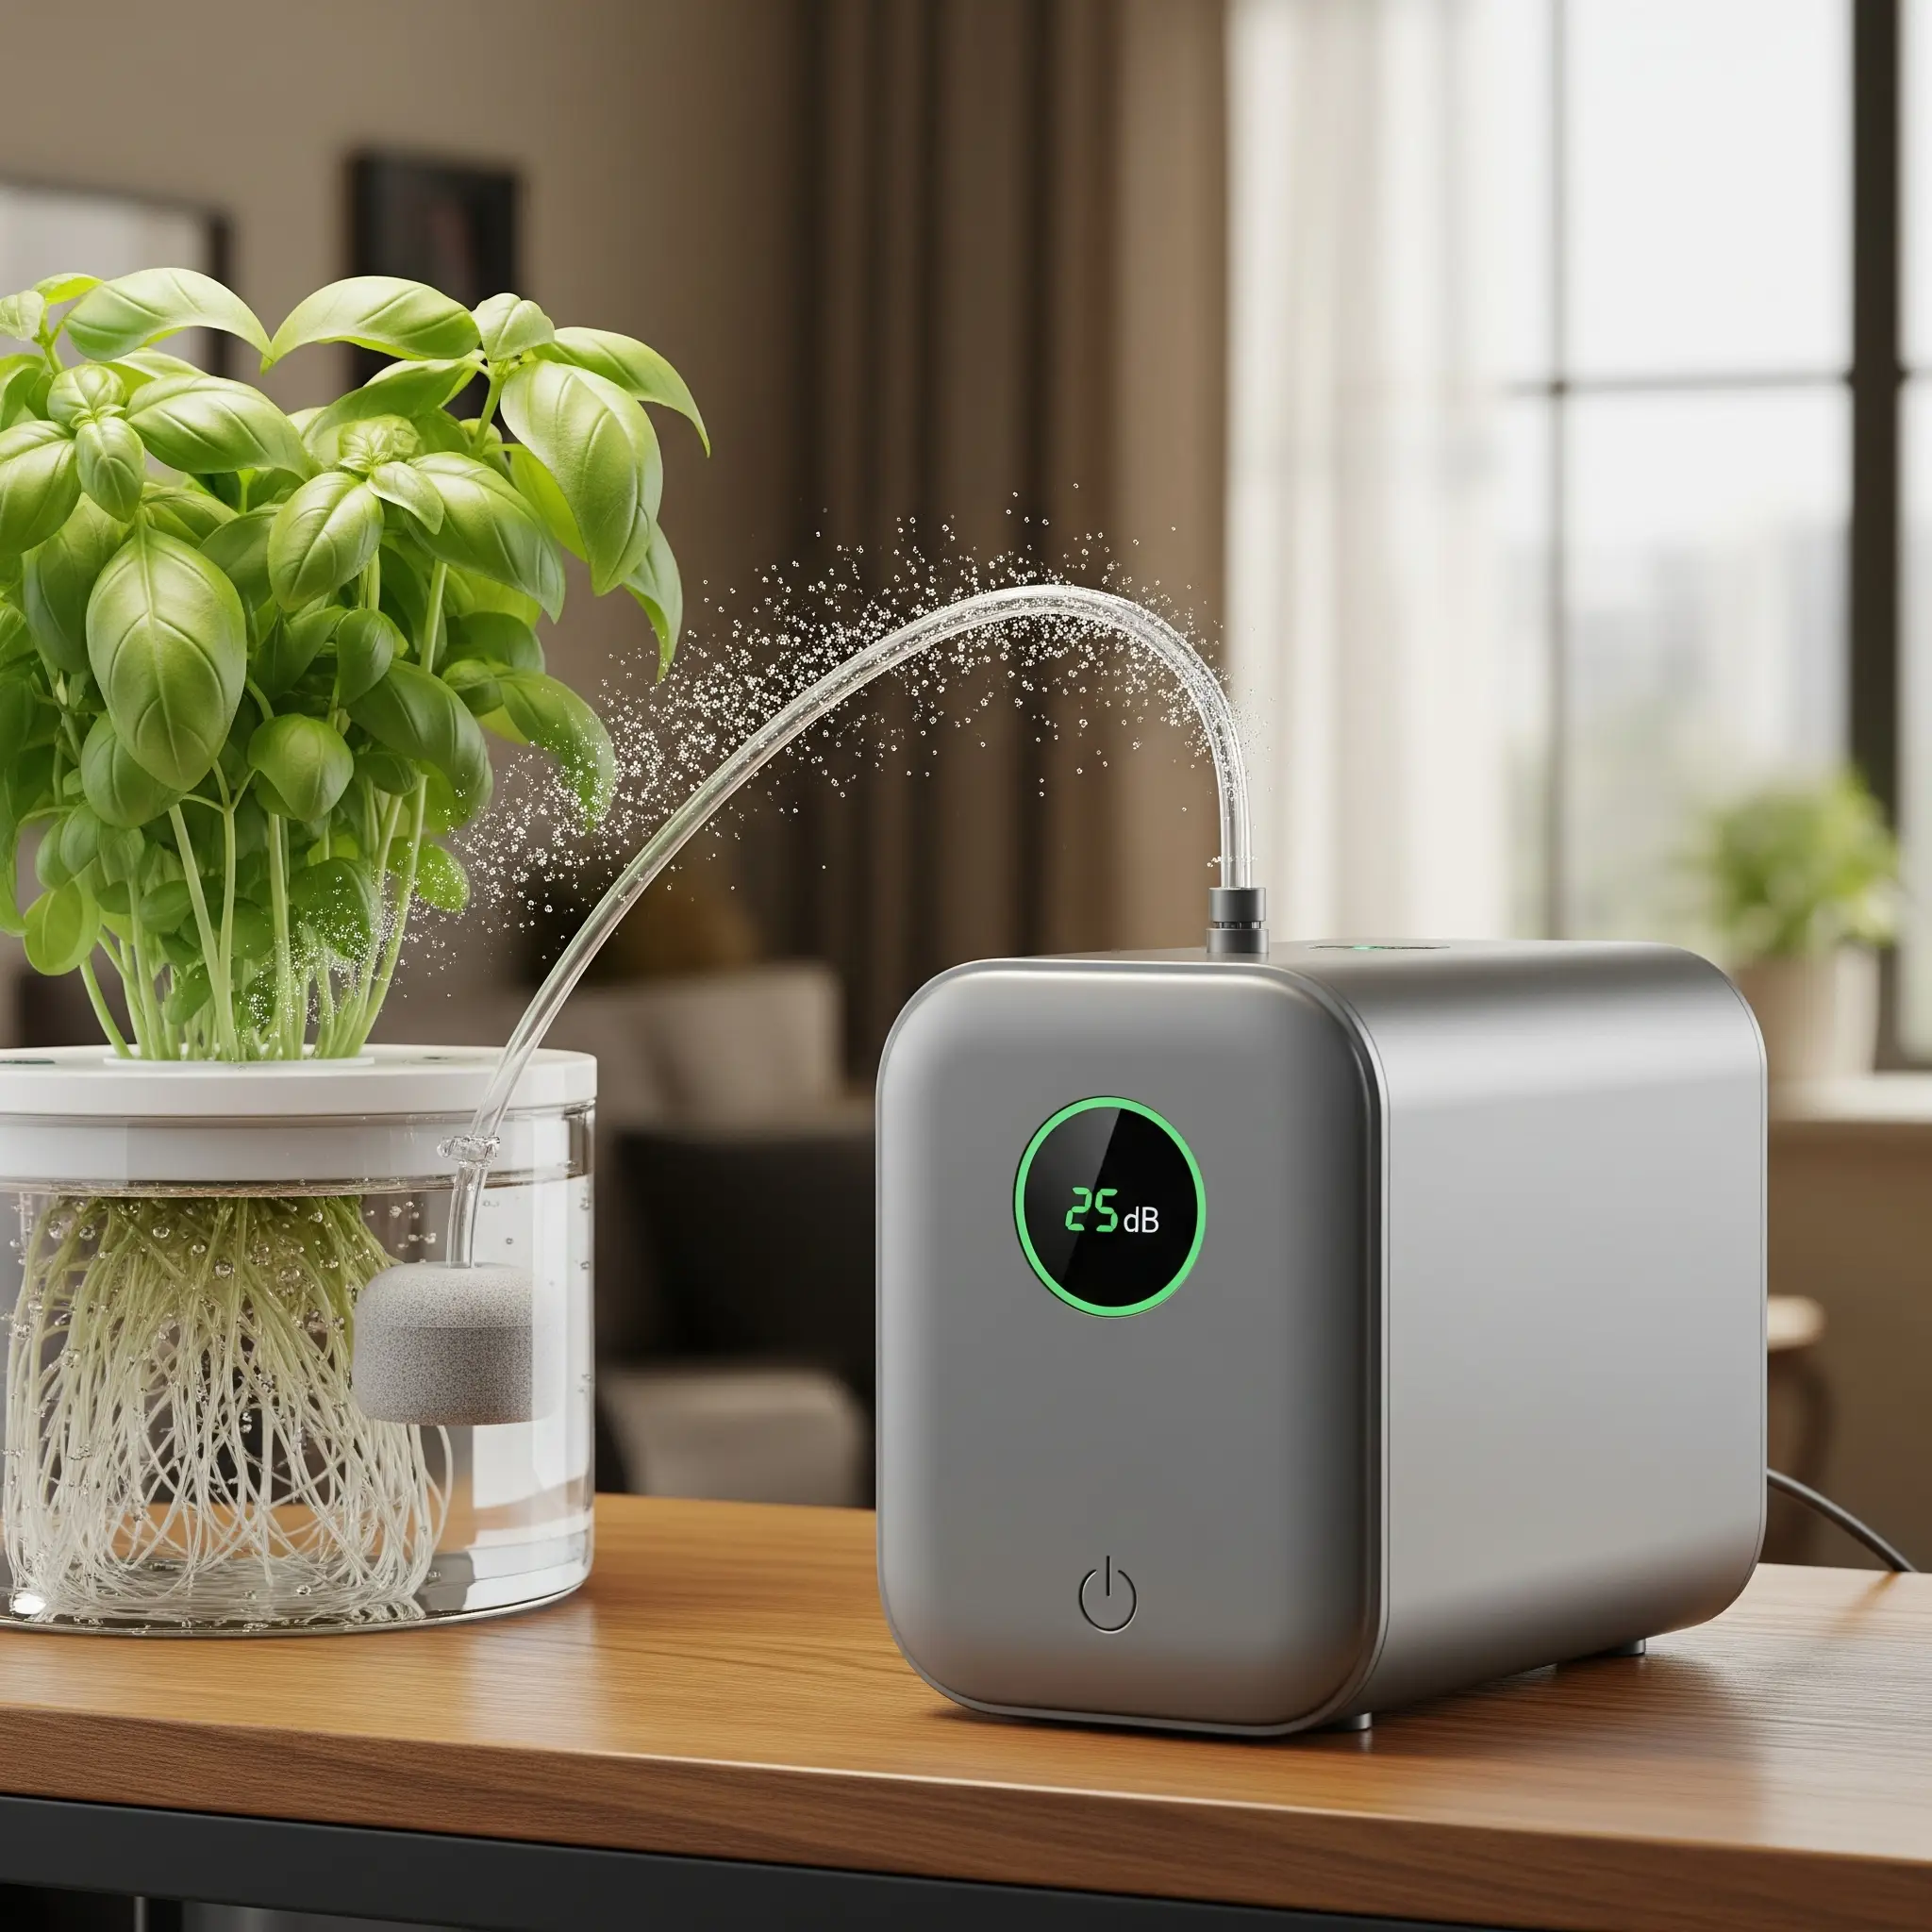
Air Pump Comparison Chart: dB Levels, CFM, and Price
| Model | dB Level | CFM | Price | “SILENT?” |
| Active Aqua 3W | 32 dB | 0.4 CFM | 💸💸 | YES |
| Vivosun 5W | 42 dB | 0.8 CFM | 💸 | NO |
| Active Aqua 6W | 38 dB | 0.8 CFM | 💸💸💸 | YES |
| EcoPlus 2 Air | 45 dB | 0.6 CFM | 💸 | NO |
| Tetra Whisper 40 | 40 dB | 0.5 CFM | 💸 | NO |
| United Solutions 100GPH | 51 dB | 1.0 CFM | 💸💸 | NO |
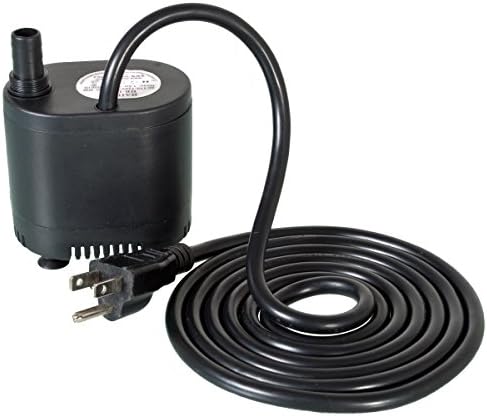
Solves: Sleep-killing pump hum from cheap air pumps.
Verdict: Survived 18mo of 24/7 abuse. It’s quiet and reliable, but its low CFM means you may need more than one for larger systems.
Quiet Air Pump Specs & Noise Targets:
| Environment | Max Target (dBA) | Recommended Isolation |
|---|---|---|
| Bedroom / Closet Grow | < 30 dBA (Whisper) | Piezoelectric Pump + Mid-Air Bungee Suspension |
| Living Room / Apartment | < 40 dBA (Library Quiet) | Dual-Diaphragm Pump + 2″ EVA Foam Base Pad |
💡 Need to estimate your overall system water capacity and aeration requirements? Use our free Hydroponic Water Efficiency Calculator.
Winning the War on Root Rot: Reservoir Temperature Control Hacks
This is the most critical and most overlooked part of DWC. The roots of your plants are happiest when the nutrient solution is between 65-68°F (18-20°C). Any higher, and you’re begging for trouble. Above 70°F, dissolved oxygen levels plummet, and you’ve created the perfect breeding ground for pythium, the fungus that causes root rot. The water becomes a thick, brown, foul-smelling mess. This is the root rot that makes your roots look like a decomposing rat—it’s a mess that’s easier to prevent than to fix.
A lot of rookies spend hundreds on expensive water chillers. Here’s a thermal hack: bury your buckets. If you’re growing in a basement or a garage with a dirt floor, dig a hole and bury your buckets 12 inches deep. The ground temperature is far more stable than the ambient air temperature, and you can get a 10°F drop without spending a dime on a chiller. For indoor grows, you can get a similar effect by insulating your buckets. A cheap and easy DIY hack is to convert a $5 pool noodle into bucket insulation by cutting it and wrapping it around the outside.
So, how to prevent root slime? This is a question I get constantly. The answer is simple and brutal: maintain 68°F and use a beneficial microbe additive. My go-to is Hydroguard. It’s a bacterial inoculant that outcompetes the bad pathogens. Think of it like a probiotic for your plants. It creates a healthy root zone that can fight off the invaders. A weekly reservoir dump and sterilization protocol will also help keep things in check.
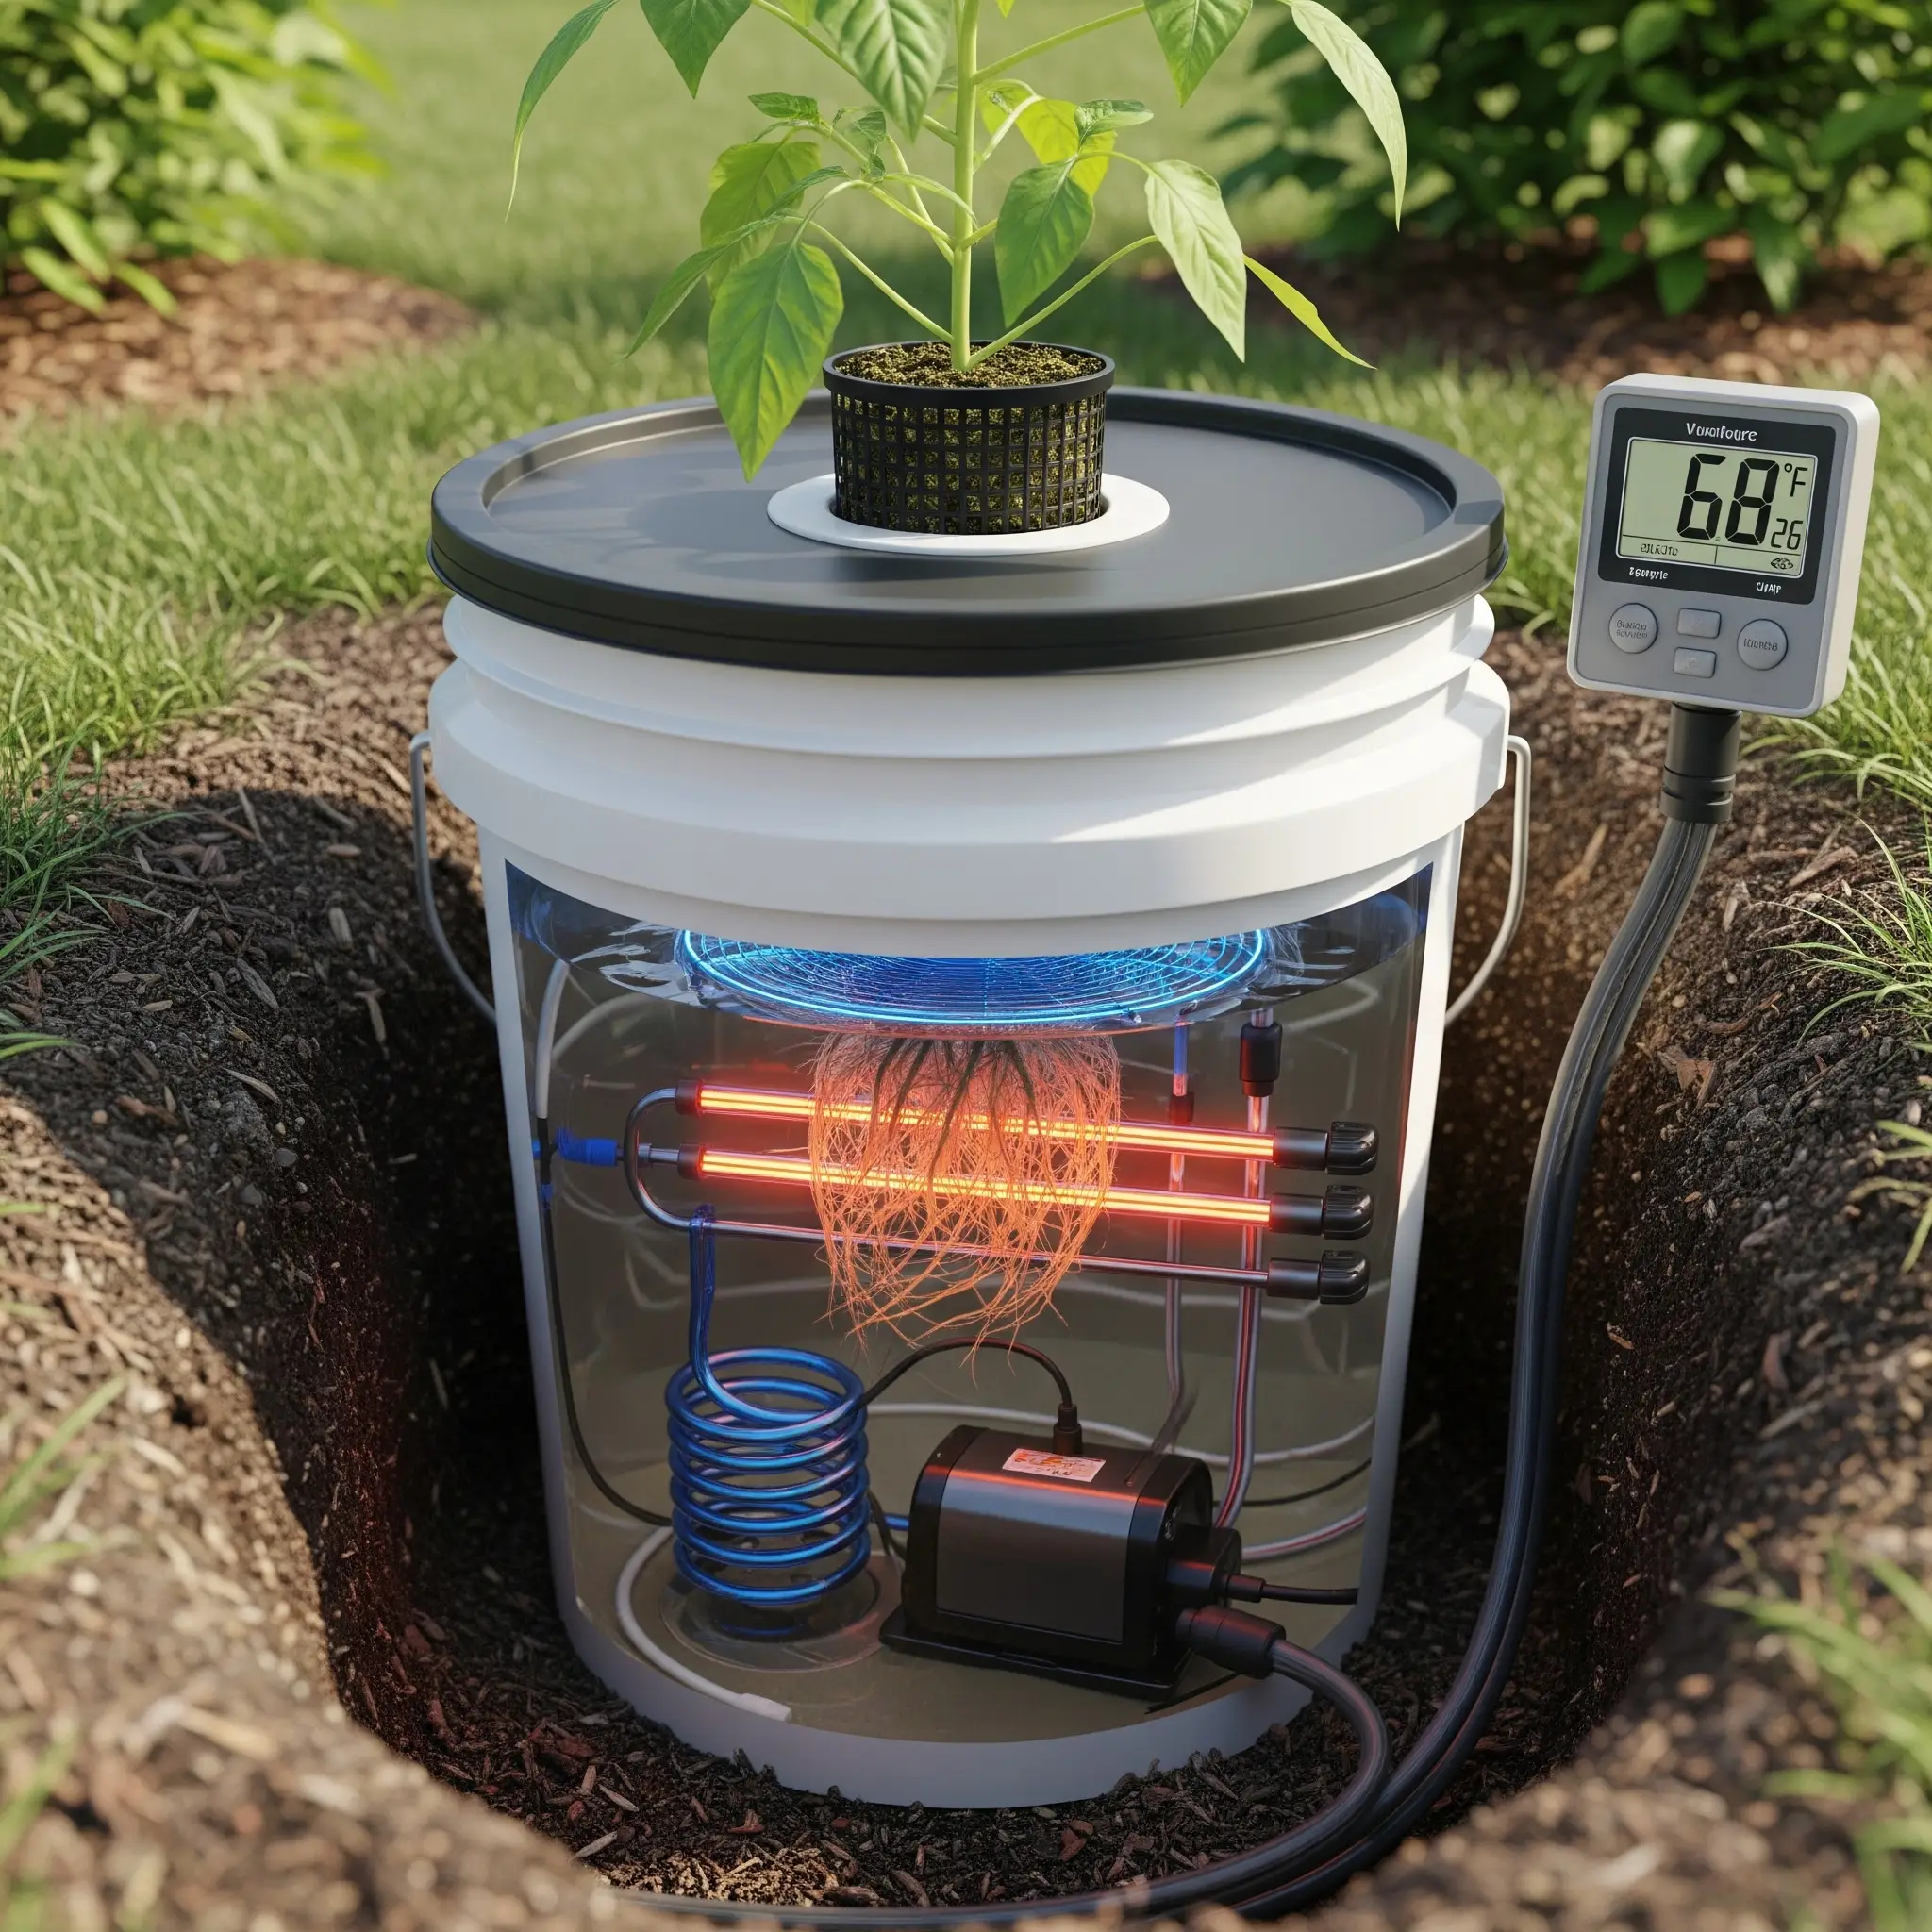

Solves: Root rot and nutrient slime caused by high temps and pathogens.
Verdict: This stuff is a life-saver. A must-have for any DWC grower. The only downside is that it’s a living product, so shelf life can be a concern if you don’t use it quickly.
Reservoir Sterilization 101: Bleach vs. H2O2 vs. Star San
Keeping your reservoir sterile is like keeping your operating room clean. If you don’t, you’re going to get an infection. For DWC, that means root rot. There are three main options for sterilization:
- Bleach: Cheap, but not a good idea. Bleach can leave behind a chemical residue that can harm your plants, and it’s terrible for beneficial microbes. Don’t use it.
- Hydrogen Peroxide (H2O2): This is the go-to. It’s cheap, effective, and breaks down into water and oxygen, which is great for your roots. A weekly soak with 3% H2O2 in your empty reservoir will nuke any lingering pathogens.
- Star San: This is a brewery-grade sterilizer. It’s an acid-based cleaner that is incredibly effective and leaves no residue. A monthly deep-clean with Star San is the best way to keep your system pristine.
My protocol is simple: weekly reservoir dumps. At the end of each week, or when the reservoir gets low, dump the old water. Then, give the bucket a quick scrub with a brush and a soak with 3% H2O2. Once a month, do a deep-clean with Star San. This protocol is the best way to prevent root slime and keep your system running like a Swiss watch.

- BPA-Free – Non-toxic and BPA-free safe plastic for consumable plants. Durable design can withstand years of frequent use…
- Ample Slits – The slits are spaced apart just right, it’s perfect for the roots poking out, let roots are stretch and gr…
- Wide Rim – 0.8in Wide lip makes net pots easy to lift to inspect roots growth and plant health. Fits wide mouth ball jar…
DIY DWC Frequently Asked Questions (FAQ)
Q: What is the most important component in a DIY DWC system?
A: The most critical component is the air pump and air stone, as they provide the dissolved oxygen that your plant’s roots need to breathe. Without enough oxygen, the roots will suffocate, leading to nutrient lockout and, most commonly, root rot. A high-quality, properly sized air pump and a large air stone are non-negotiable for a healthy system.
Q: How can I prevent root rot in my DWC system?
A: Preventing root rot requires a two-pronged approach. First, maintain your reservoir’s water temperature between 65-68°F (18-20°C) to keep dissolved oxygen levels high and inhibit the growth of harmful pathogens. Second, use a beneficial microbe additive, such as Hydroguard, to outcompete the bad bacteria and fungi that cause root rot.
Q: Why do I need to use a dark or opaque bucket for my DWC system?
A: You must use a light-proof or opaque bucket to prevent light from reaching the nutrient solution. Light encourages the growth of algae, which competes with your plant for nutrients and can clog your system. Algae also creates a perfect breeding ground for other pathogens that can lead to root rot.
Q: How can I make my hydroponic air pump quieter for indoor growing?
A: The best way to reduce noise is to use a high-quality air pump with a low decibel (dB) rating. Pumps with DC motors, often found in brands like Active Aqua, are significantly quieter than budget AC pumps. Additionally, placing your pump on a soft surface, like a piece of foam or a rubber mat, can absorb vibrations and further reduce noise.
The Final Word: Build it Right, Build it Once
There you have it. The secret to a successful DWC grow isn’t magic; it’s engineering. It’s paying attention to the small details that most people ignore. It’s spending a few extra dollars on a good air pump and a durable bucket. It’s understanding that an hour of maintenance a week is cheaper than replacing water-damaged drywall.
This guide isn’t just about building a bucket; it’s about building a system. A system that works, that doesn’t flood your basement, and that doesn’t drive you crazy with noise. Take what you’ve learned here, apply it, and you’ll be well on your way to a thriving, disaster-free hydroponic garden. Now get out there and build something that works.
Build It Yourself and Save: Why buy an expensive pre-built rig when you can engineer your own? Dive into our library of DIY hydroponic blueprints, custom plumbing guides, and high-efficiency reservoir builds. View DIY System Blueprints →

Continue Your Learning Journey