Hydroponic Clone Quarantine: The Ultimate Bio-Security Protocol

Table of Contents
- The Science of Hydroponic Biosecurity
- Designing the Isolation Zone
- The 14-Day Quarantine Protocol: Step-by-Step
- Essential Quarantine Parameters and Metrics
- Biosecurity Toolkit: Essential Quarantine Equipment
- Incorporating Beneficial Microbes Post-Quarantine
- Frequently Asked Questions
- Root Dip Dosing Calculator
Bringing a new clone into an established hydroponic system without a real quarantine protocol is a gamble with the whole crop. A cutting looks vibrant, has a solid root mass, and seems ready to go straight into the main system. Two weeks later the reservoir is foaming with Pythium and the canopy is covered in fine spider mite webbing.
Indoor gardens are isolated ecosystems. Without natural predators, UV exposure, or wind to keep populations in check, any pest or pathogen that gets in reproduces fast. Share a nutrient reservoir across dozens of plants and a single infected root system can spread disease to the rest of the crop within hours. Real biosecurity means a genuine zero-tolerance policy for anything coming in from outside.
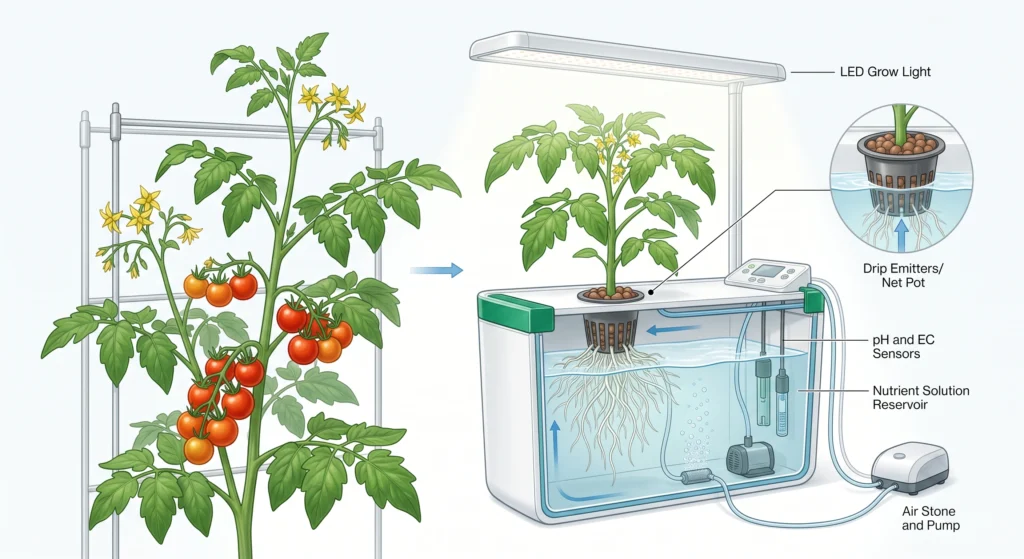
This guide walks through the 14-day quarantine protocol commercial facilities use to isolate, treat, and verify new genetics before they ever reach the main production floor.
The Science of Hydroponic Biosecurity
Hydroponic biosecurity comes down to systematically isolating and observing new plant material before it can introduce vectors, pathogens, or pests into a shared system. Recirculating water systems like DWC and NFT let root rot zoospores travel freely, which makes quarantine a structural necessity rather than an optional extra step.
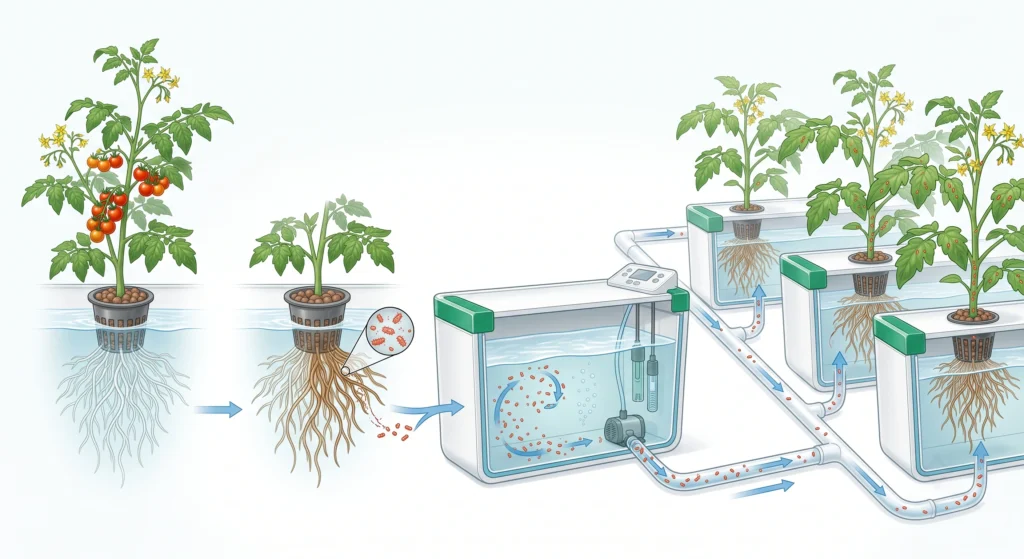
A recirculating hydroponic system is a genuinely connected network. Water touching plant A’s roots eventually touches plant Z’s roots too. Pathogens like Pythium aphanidermatum and Fusarium oxysporum produce motile zoospores that actively swim through nutrient solution looking for compromised or new root tissue to colonize.
Bringing in a new clone means importing more than genetics, you’re importing the microbiological footprint of wherever that clone came from. Even reputable nurseries can carry latent populations of broad mites, thrips, or mildew spores that stay undetectable for days or weeks. Spider mite eggs, for instance, can sit dormant on a leaf underside until your tent’s temperature and humidity happen to hit their preferred breeding conditions.
A real quarantine protocol breaks that cycle. It forces pests and pathogens to reveal themselves somewhere isolated, where they can be dealt with without risking the main crop. See our hydroponic IPM guide for managing established systems more broadly.
Designing the Isolation Zone
An effective quarantine zone needs real physical separation, dedicated airflow, separate tools, and its own light cycle, kept somewhere easy to sanitize and unlikely to cross-contaminate via clothing or shared air.
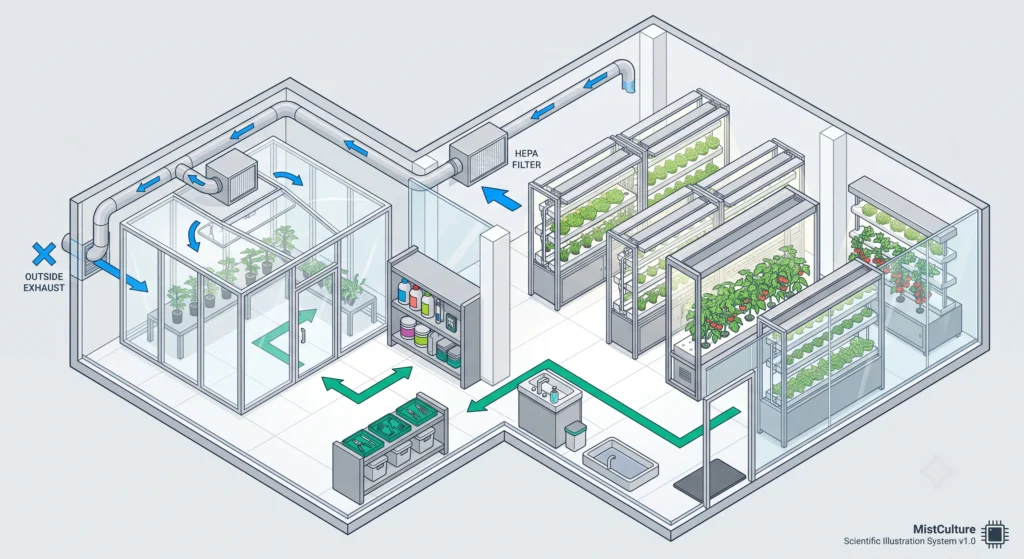
Putting new clones on a different shelf in the same room doesn’t count as quarantine. Spores travel on air currents, and fungus gnats will fly across a room toward wetter substrate without much trouble.
The ideal quarantine zone is a small, dedicated tent in a genuinely separate room or section of the building.
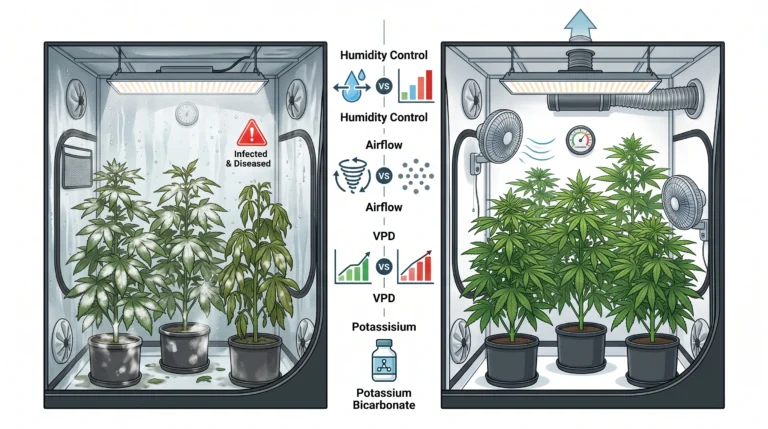
Airflow. The quarantine tent shouldn’t share intake or exhaust ducting with your main grow. If it exhausts air, vent it outside the structure rather than into shared HVAC that could recirculate it into your main garden.
Dedicated equipment. Tool cross-contamination is a leading cause of pathogen spread. Keep a separate set of pruning snips, pH meter, mixing pitcher, and spray bottle just for the quarantine area, and never share reservoir water between the two spaces.
Workflow order. Work your main garden first, then move to quarantine, never the other way around. Change clothes and wash up before going from quarantine plants back to your main space, pests like russet mites are notorious hitchhikers on sleeves and hands.
Our grow tent buying guide covers sealed tent options well suited to this kind of strict environmental separation.
The 14-Day Quarantine Protocol: Step-by-Step
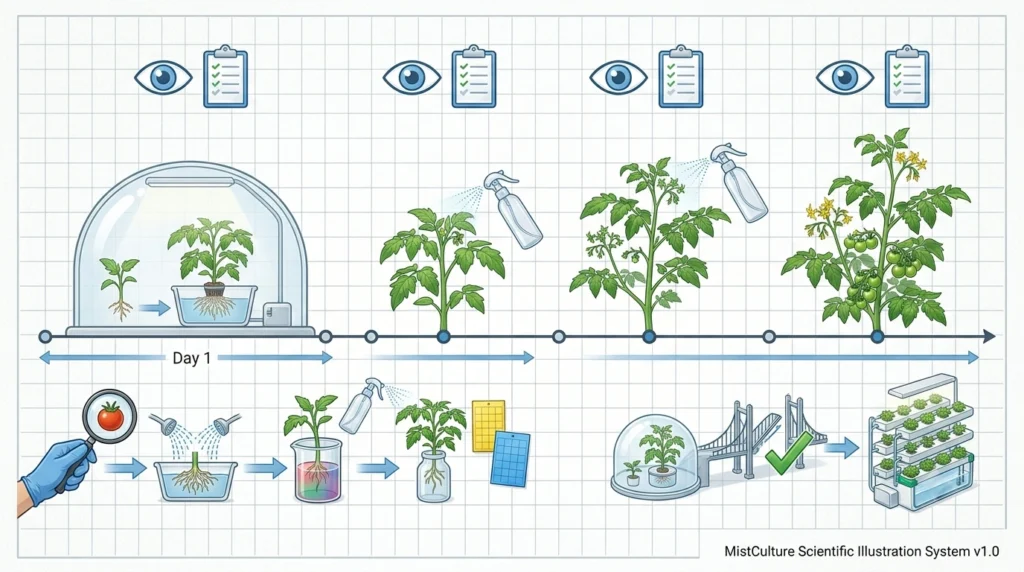
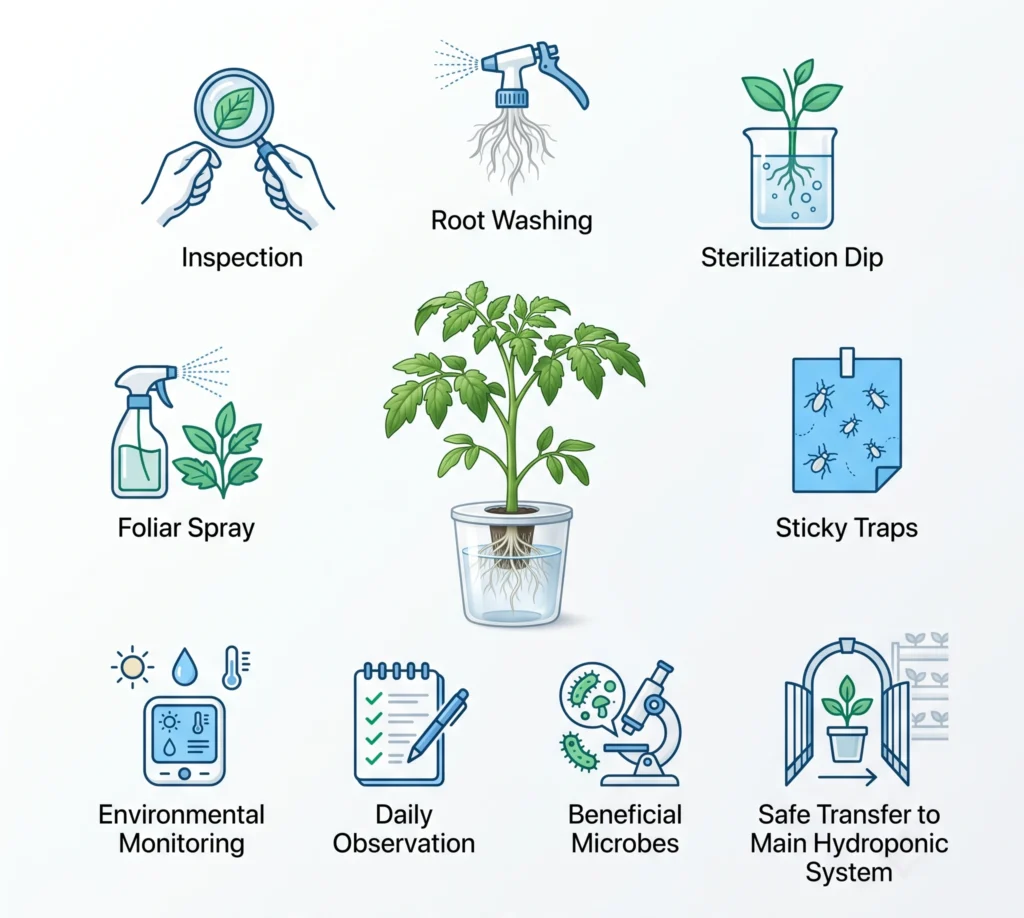
The standard protocol runs a visual inspection, a root sterilization dip, prophylactic foliar treatment, and daily monitoring across a full 14 days, long enough for the latent life cycles of most common pests to complete and become visible.
Skipping steps here defeats the purpose. Run through this every time you bring in new genetics.
Step 1: Visual and Microscopic Inspection
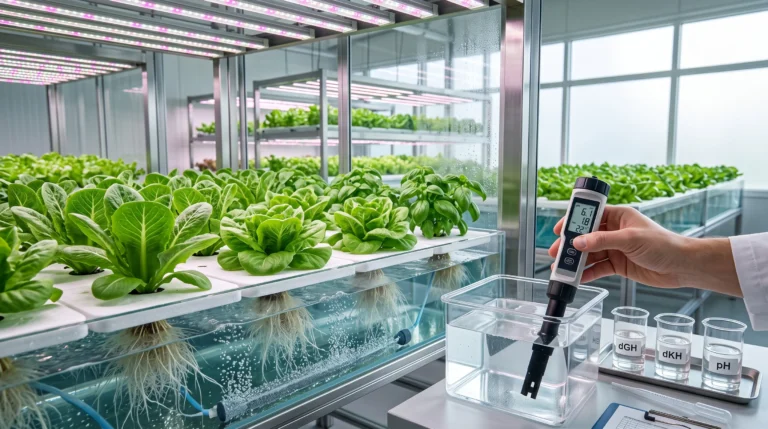
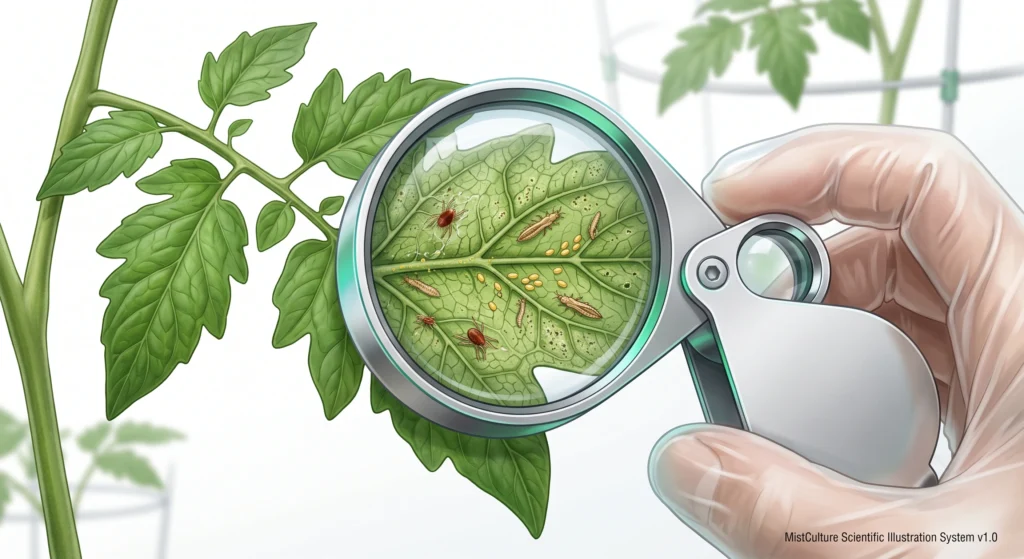
Inspect the clone thoroughly under bright light before it even enters the tent. A 60x jeweler’s loupe or pocket microscope helps here. Check leaf undersides along the primary veins, where spider mites and aphids lay eggs, and check new growth tips for the subtle distortion broad mites cause. Roots should be firm and white, any browning, sliminess, or sour smell is a red flag calling for immediate root rot prevention measures.
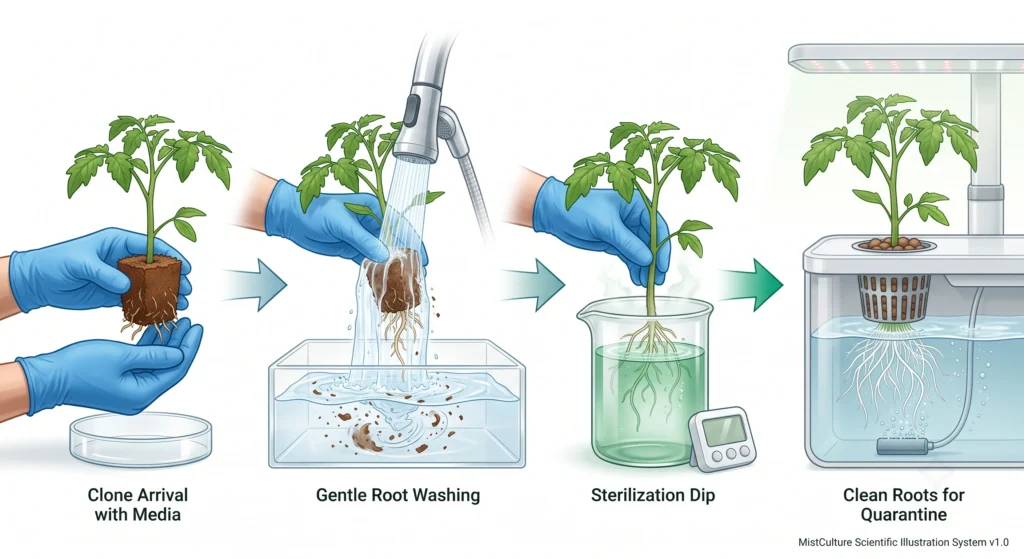
Step 2: The Root Wash and Sterilization Dip
Clones often arrive in soil, peat, or rockwool. Moving one into a pure water system means removing all organic substrate first, submerging soil clumps in a hydro reservoir is a fast track to soil-borne pathogens and clogged pumps.
Gently massage the root mass in tepid water to loosen and remove media, then perform a sterilizing dip. Two common approaches:
- Hypochlorous acid (HOCl): commonly cited around 2 to 3mL per gallon.
- Hydrogen peroxide: if using standard 3% drugstore peroxide, dilute it roughly 1 part peroxide to 1 to 4 parts water for a meaningful dip concentration, not a few mL per liter, that’s far too weak. If using concentrated food-grade H2O2 (27-35%), the “few mL per liter” convention applies instead, since it’s a much stronger starting product. The calculator at the end of this guide handles the math either way.
Submerge roots for 30 to 60 seconds to knock down lingering bacteria and any fungus gnat larvae present.
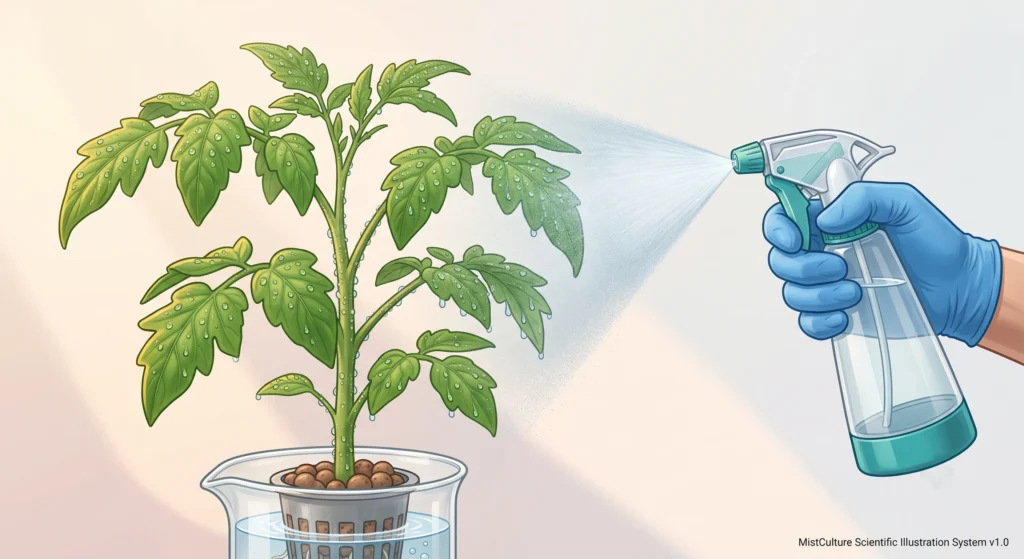
Step 3: Prophylactic Foliar Treatment
Don’t wait to actually see pests before treating. Assume contamination and apply a broad-spectrum organic knockdown spray right away, neem oil with a few drops of insecticidal soap as an emulsifier works well. Coat the whole plant, undersides of leaves and the main stem included.
Apply just before lights go out to avoid oil droplets magnifying light and burning leaves. Repeat on day 4 and day 8 to catch anything hatching from eggs the first application missed.
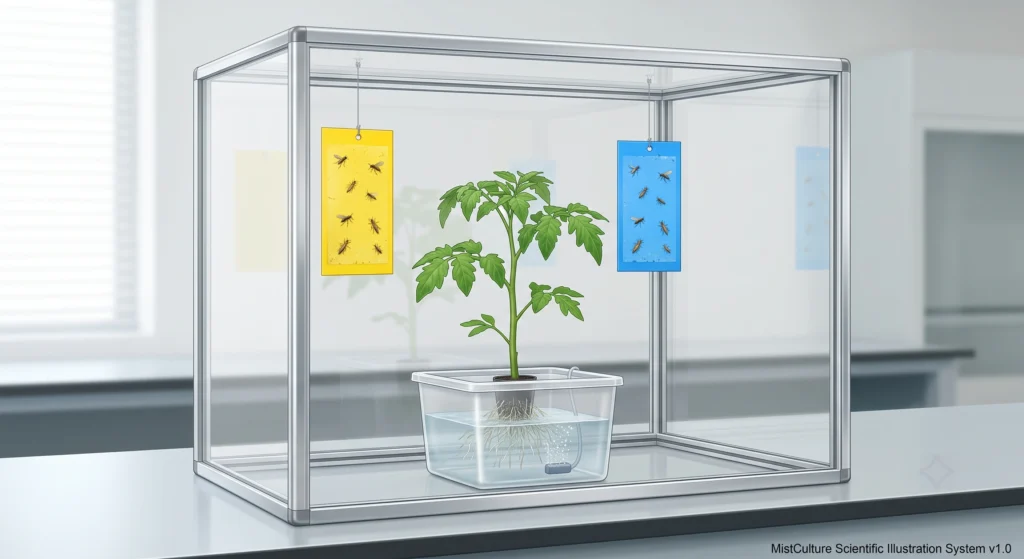
Step 4: Yellow and Blue Sticky Traps
Place one yellow and one blue sticky trap at canopy level. Yellow attracts fungus gnats, whiteflies, and winged aphids. Blue is particularly effective for monitoring thrips specifically. Check daily, a single gnat on the card by day 3 tells you larvae are already active in the media and a Bti root drench is worth doing right away.
Step 5: Low-Stress Monitoring Phase
A clone that’s just been cut, transported, washed, dipped, and sprayed is under real stress. Low-intensity lighting (a simple T5 or dimmed LED) and a weak nutrient solution, roughly 0.6 to 0.8 mS/cm EC with pH held at 5.8 to 6.0, protect the fragile root system from additional shock while it recovers.
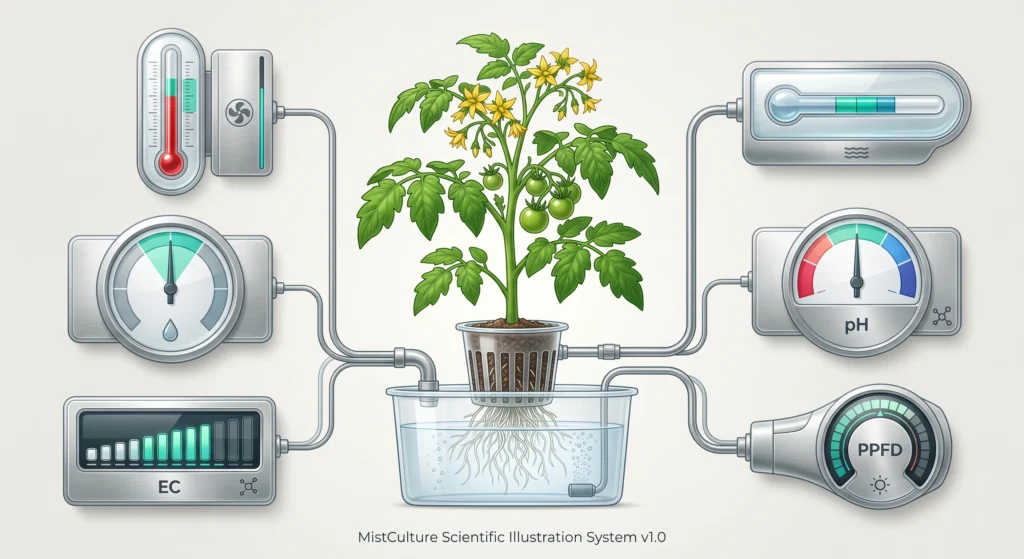
Essential Quarantine Parameters and Metrics
Keeping the environment low-stress during quarantine lets the plant focus energy on recovery and immune response rather than fighting environmental extremes on top of everything else.
| Parameter | Target Range | Purpose |
|---|---|---|
| Air Temperature | 72-76°F (22-24°C) | Moderate heat reduces plant stress and slows pest metabolism, making eradication easier |
| Water Temperature | 65-68°F (18-20°C) | Maximizes dissolved oxygen and slows Pythium zoospore activity |
| Relative Humidity | 60-65% | Prevents dehydration while roots recover from transplant shock |
| pH Level | 5.8-6.0 | Keeps nutrients available without locking out micronutrients during recovery |
| EC (Electrical Conductivity) | 0.6-0.8 mS/cm | Prevents osmotic shock; ramp toward 1.2+ after day 10 if roots look healthy |
| Light Intensity (PPFD) | 150-250 µmol/m²/s | Keeps water and nutrient demand within what recovering roots can actually supply |
See our hydroponic troubleshooting guide for help dialing in these parameters generally.
Biosecurity Toolkit: Essential Quarantine Equipment
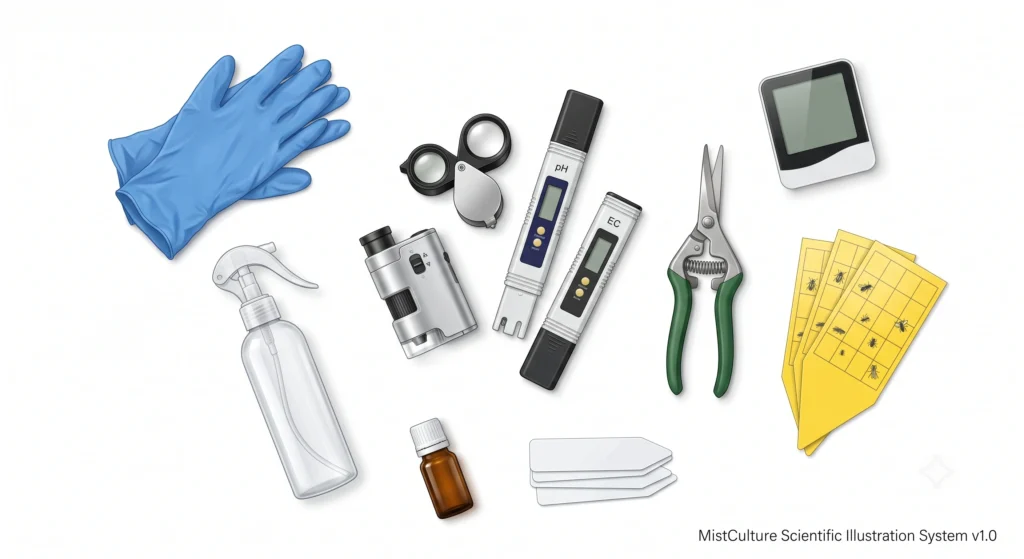

Broad mites and early spider mite infestations are essentially invisible to the naked eye. A 60x illuminated loupe lets you catch problems before webbing shows up.
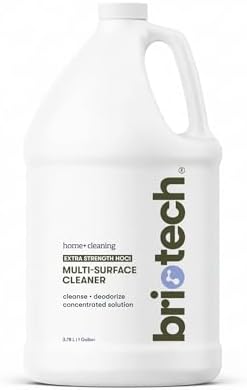
- EXTRA STRENGTH HOCL The top choice, premium, pure Hypochlorous concentrate for fogging and deodorizing households, schoo…
- HIGH VOLUME APPLICATIONS Facilitates jobs of all sizes to serve wide area applications when used with cool mist humidifi…
- REPLACE TOXIC CHEMICALS A potent, non-toxic, and earth friendly solution. Free of alcohol, bleach, chlorine, ammonia, pa…
- PURE & POWERFUL The safe and leading HOCl trusted by professionals for important cleaning requirements as an earth-based…
- NO PROTECTIVE EQUIPMENT NEED Experience the power that Briotech can provide. No PPE (gloves, goggles, masks) required fo…

- MULTI-PURPOSE BUG KILLER – Bonide Neem Oil is a perfect pest control solution for any garden dealing with mites, flies, …
- READY TO USE – This product is conveniently ready to use when it arrives. The spray nozzle makes this product easy to de…
- KILLS ALL STAGES OF INSECTS – Bonide’s 3-in-1 Neem Oil is great because it kills the egg, larvae, and adult stages of in…
- DORMANT SPRAY – In addition to being useful for ridding your garden of insects and other pests, this Neem oil makes a gr…
- ORGANIC GARDENING – Derived from the Neem seed, our product is great for use on roses, flowers, vegetables, fruits, herb…

A quiet early-warning system hung right above the canopy, yellow for fungus gnats and whiteflies, blue for thrips. Clean traps after 14 days is a good sign the airspace around the clone is secure. [Insert Amazon Associate link.]
Incorporating Beneficial Microbes Post-Quarantine
Once a clone passes its 14-day trial, transitioning it to the main system matters too. A root-sterilized clone is effectively a blank slate, and nature doesn’t leave a vacuum empty for long. If good biology doesn’t get there first, something less helpful eventually will.
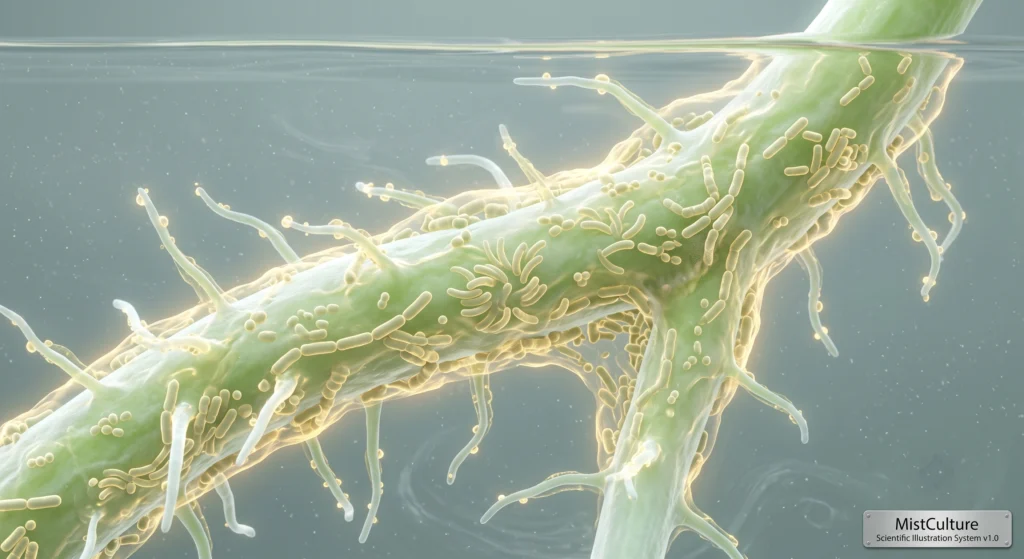
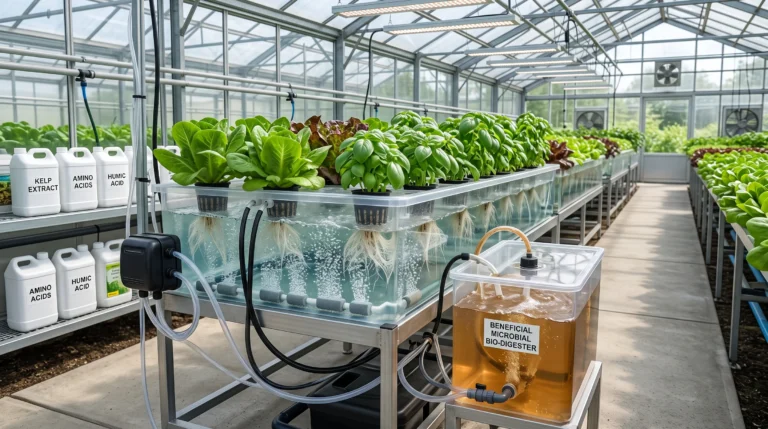
Introducing a quality beneficial bacteria inoculant before moving the plant to the main floor gives it a head start. Bacillus amyloliquefaciens and Trichoderma harzianum are both well-established options, colonizing the root surface with a protective biofilm and helping break down dead root matter to keep the zone clean. See our microbes and enzymes guide for more on choosing between them.
Frequently Asked Questions
How long does a hydroponic clone quarantine really need to be?
A minimum of 14 days. A two-spotted spider mite’s life cycle from egg to reproductive adult runs roughly 7 to 14 days depending on temperature, so a 14-day window ensures dormant eggs present on arrival hatch and get caught by your scheduled foliar treatments.
Can I skip quarantine if I buy from a trusted, reputable nursery?
Not really. Even well-regarded commercial nurseries deal with outbreaks, and pests can attach during transport regardless of the source’s reputation. Every plant from every source is worth running through isolation.
What should I do if I find pests during quarantine?
Keep the plant isolated, identify the pest with your loupe, and apply the appropriate targeted spray every few days. Extend quarantine another 14 days after the last day you saw a living pest. For a severe infestation, destroying the clone is often the right call, it’s not worth risking the whole crop for one cutting.
Can I move a rockwool-rooted clone directly into a DWC setup?
Yes, as long as the rockwool isn’t fully submerged. The net pot bottom should sit just above the water line so air stone bubbles mist the cube from below. Full submersion risks stem rot and starves the crown of oxygen.
Is it safe to use hydrogen peroxide to treat roots?
Yes, when properly diluted for the concentration you’re actually using, standard 3% peroxide diluted roughly 1:1 to 1:4 with water, or a much smaller dose of concentrated food-grade product. It oxygenates the water and helps clear dead tissue and pathogens, but it will also kill any beneficial microbes you’ve added, so re-inoculate after it’s dissipated.
Should I feed quarantined clones full-strength nutrients?
No. A clone recovering from cutting, rooting, transport, and repotting needs a weak solution, roughly 0.6 to 0.8 EC, to avoid burning fragile new root hairs.
Root Dip Dosing Calculator
Use the tool below to get the right H2O2 dip concentration regardless of whether you’re working with standard 3% peroxide or a concentrated food-grade product.
Calculate the right dilution for a root sterilization dip, whether you have standard 3% drugstore peroxide or a concentrated food-grade product.
Targets a final dip concentration around 1-1.5% H2O2, a commonly cited effective range for a 30-60 second root dip. Handle any product above 10% concentration with gloves and eye protection.

Continue Your Learning Journey